Every designer and agency has a workflow that they like to use for their own projects.
Workflows are incredibly personal things, and what works for one person might not necessarily work for another.
So, in this article, we’re going to give you an example of a web design workflow.
You may love it, and some of you may hate it, the point is, it gives you a workflow to start from that you can then take and modify it to fit your own personal projects or preferences.
Most workflows can be broken down into four individual segments.
- Planning,
- design,
- development, and
- publishing.
Often throughout a project, these segments will blur or shift, so be sure to make any workflow that you use flexible enough to handle the disruptions that every single project is going to go through.
Let’s take a look at these stages one at a time.
Planning
Create a project brief

So, the very first thing we do for any project we’re working on, is to create a project brief.
This brief covers the basics of the project, what the scope of the project is going to be, and what deliverables will be expected at the end of the project.
Doing this at the very beginning makes sure that our expectations match the expectations of the client. That’s really important.
Although this sounds like common sense, you’d be amazed at how often clients and designers have very different expectations.
Content survey
Next, we may do a content survey for the site. Now, a content survey is a comprehensive listing of all of the content that will be involved in the site or project.
Now, it doesn’t mean that all the content has to be written. It just means that we’ve identified all the different content types and we know how much content we’re going to be working with.
Or at least have a good idea of it!
Content strategy
This allows us to create a content strategy, we’re firm believers in the phrase that content is king.
By understanding what types of content are in your site, you’re going to be able to prioritise it and begin to plan for how your design is going to facilitate users accessing and interacting with that content.
Site plan

Now, at this point, we’re going to draft up an initial site plan that could include wireframes, sitemaps, and feature lists.
We’re not going to focus on any visual design at this point and we’re not going to produce any mockups.
Now, this is solely about content and functionality, and that’s it. From there, we move into the design phase.
Design
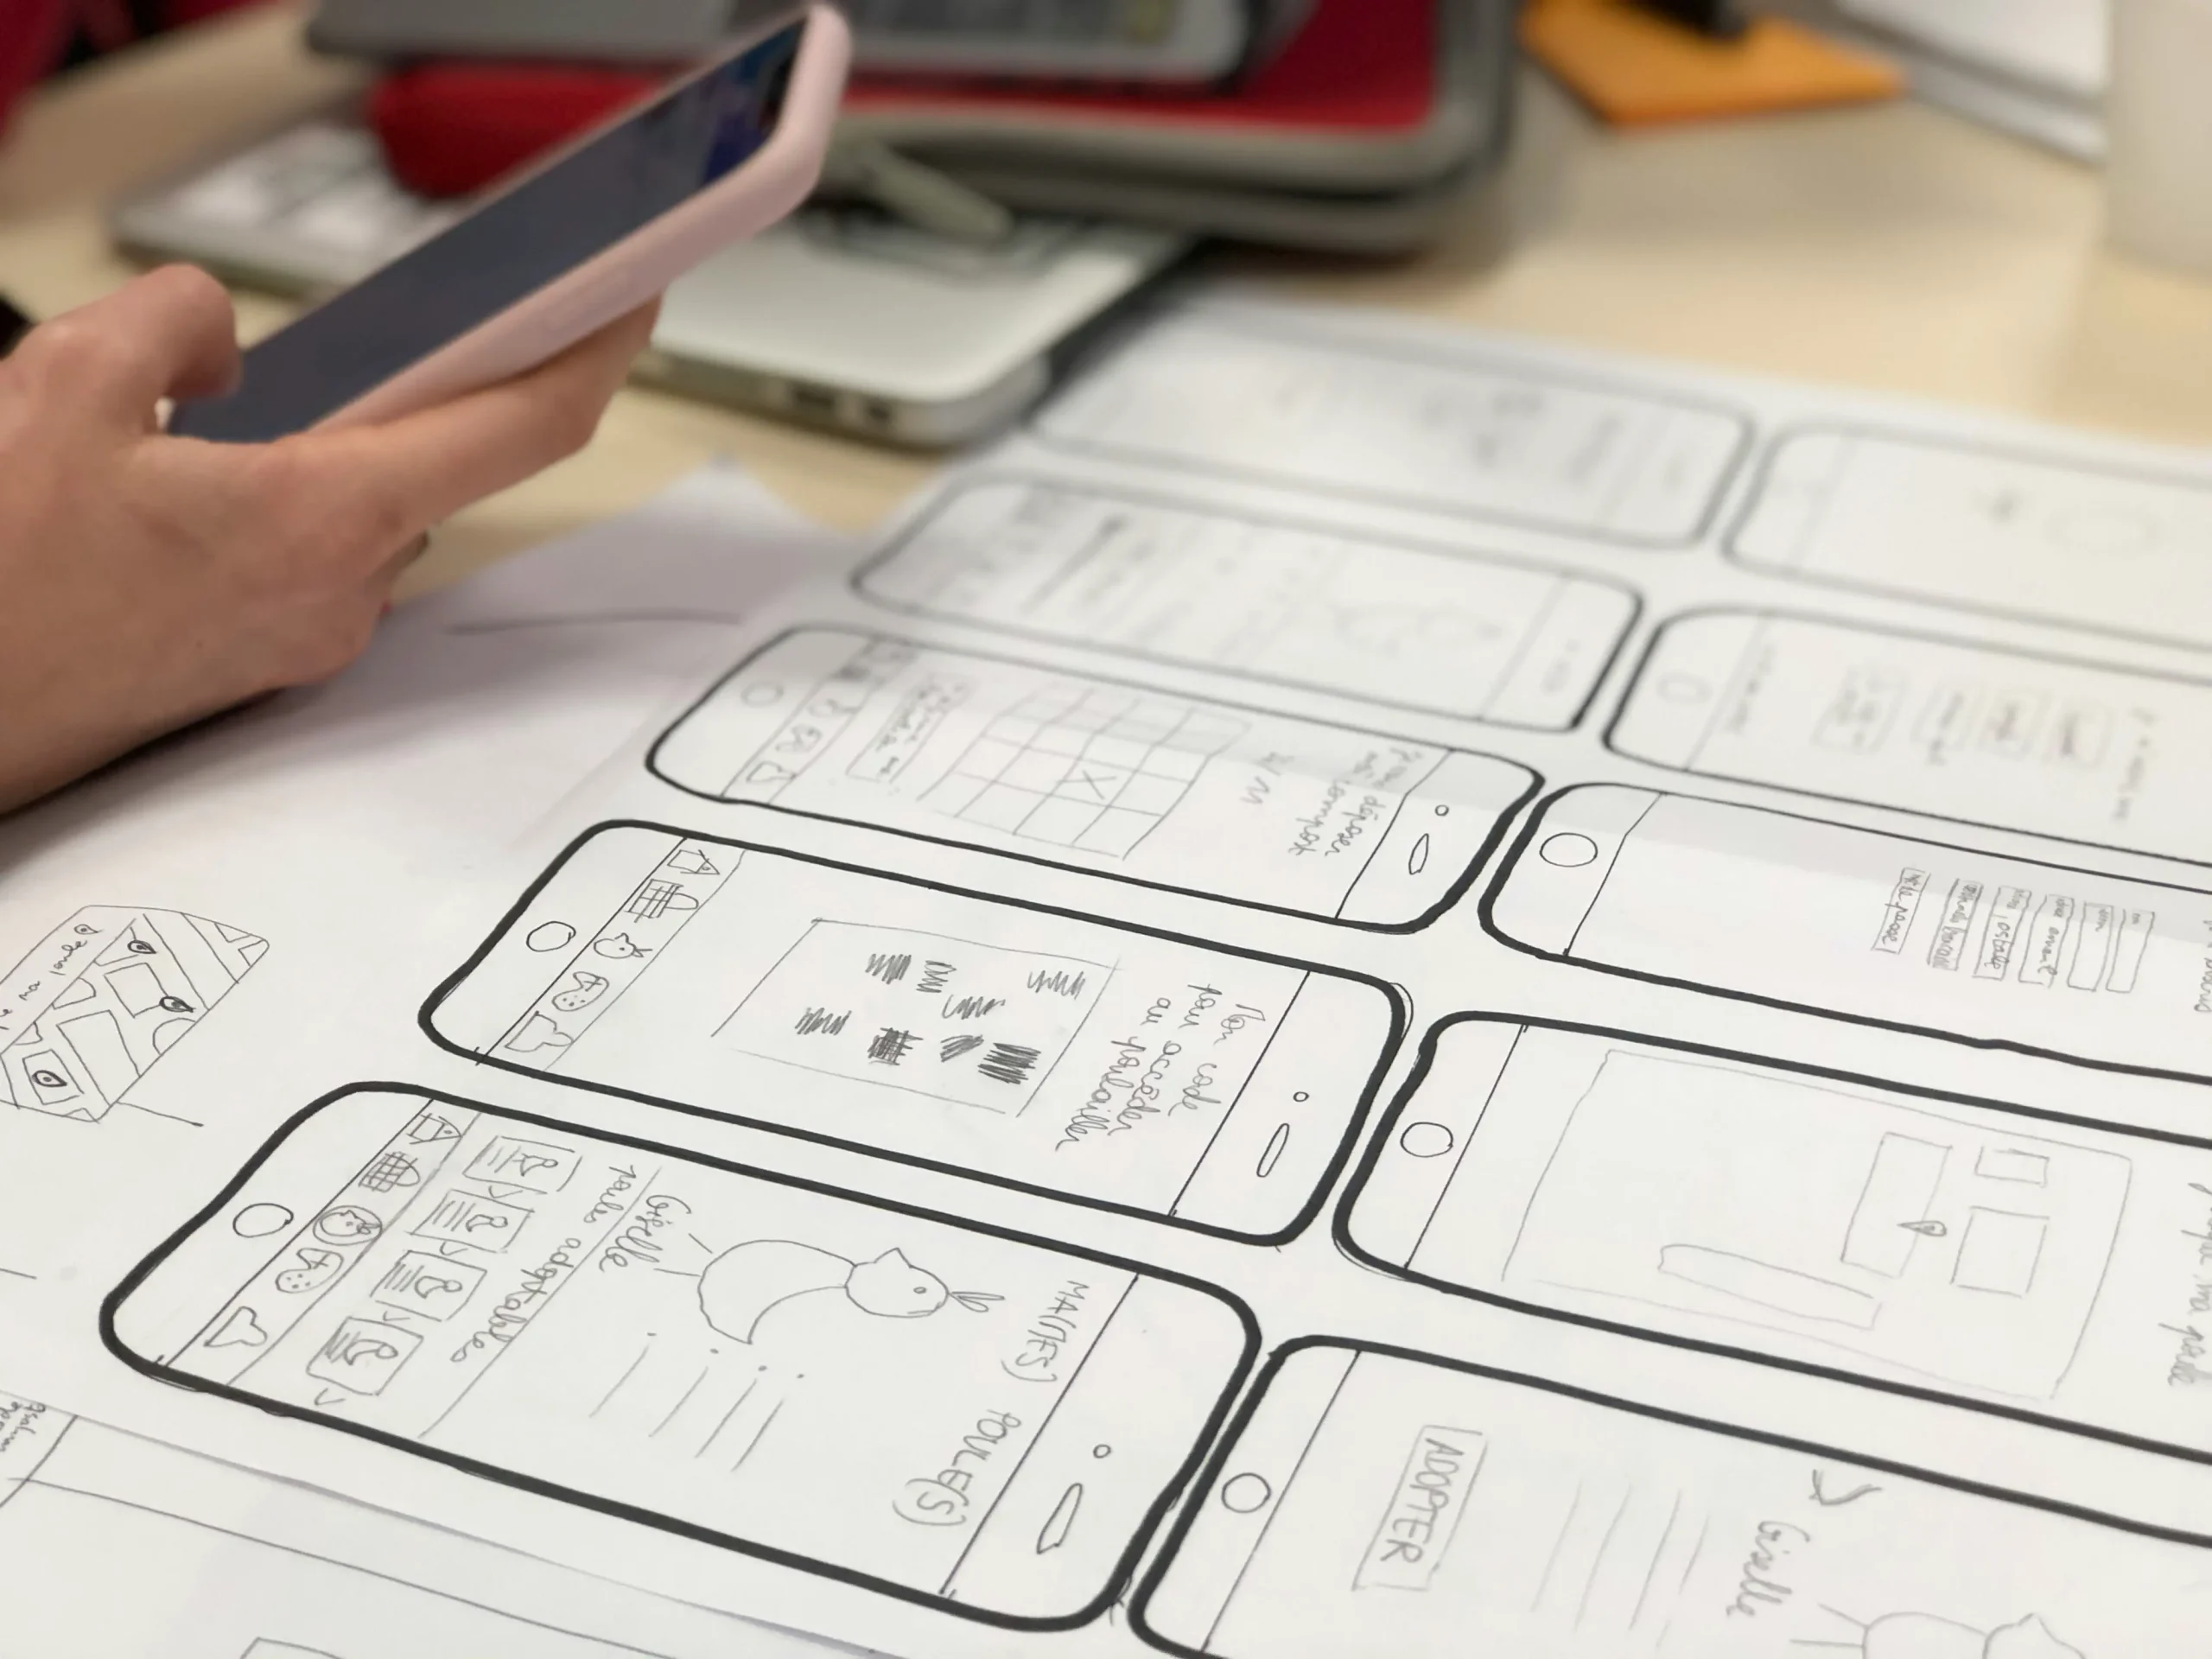
Sketching
At this point, we usually pick up a sketchbook and do a good bit of sketching.

We love physically sketching ideas and coming up with say, hundreds of possibilities. This really works for us.
Even though we know plenty of designers that actually prefer to sketch directly in code. Sometimes a pen and paper are much more liberating.
Usually, we’ll refine our sketches and get a pretty good idea of how the site layout is going to look. We don’t always show these to the client, however.
Style tiles
We’re actually becoming bigger fans of using style guides. Samantha Warren has a great site on using style tiles and how they can help in planning the design of sites.

Essentially, you’re just showing clients design elements, not full site mockups. This frees you from the very common problem of having clients get caught up in individual page design choices and sort of nitpicking rather than just looking at the overall design aesthetic.
Brad Frost has recently described his process of atomic design, which is the process of designing individual components first, which are then combined into larger regions of the page.
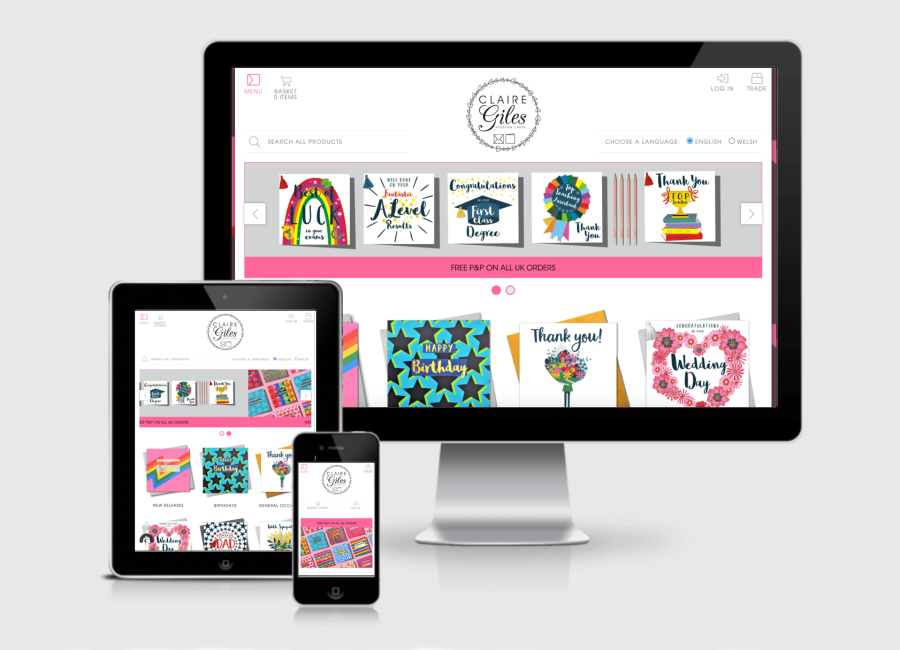
If the project needs it, we’ll generate prototypes next. Prototypes are typically working design mockups that illustrate other stylistic choices or simulate functionality.
This allows the client to see not only how the site is going to look but also, how it’s going to function.
Prototypes
Prototypes aren’t required for every project, but they can be an extremely powerful way of conveying ideas and functionality to the clients before you commit to any actual development work.
When we feel comfortable that we have a solid design direction and that the client is happy with the direction we’re going in, we’ll usually generate site assets.
Site assets

Now, your site’s assets are going to include things like images, icons, other graphics, fonts, written copy, video, you know, any other asset or resource that the site is going to require.
You won’t always be able to generate all of these assets before development, honestly, you very rarely do.
But when you can, it makes the process of actually developing the site a lot easier. At this point, we begin to develop the site.
If we’ve done our planning properly, we already know how the site is going to be structured and what type of functionality is going to need to be programmed.
Development
Now, typically, we’ve got a really good idea of how our code is going to look before we even start.
For larger projects, we might actually want to develop some coding standards, so that all of the team members will be on the same page as they develop content.
One of the things that we always try to think about when developing a site is whether or not the code is maintainable and can it scale if the site needs to grow.
If the site has something like e-commerce or really complicated functionality that requires specialised development, sometimes a Tech Scope is useful, to use as a crib sheet, to define what functionality and why and sometimes how.
It’s also a really good idea, during the development phase, to use some type of versioning software.
Version control

We love Bitbucket and Github; it’s the current favourite of many developers, so we highly recommend it.
It allows you to collaborate with team members, track changes, and then if you want, you can branch-off copies of the site so that you can sort of experiment with it without changing the main site.
It’s also a really nice way to back up your site so you don’t lose it if something changes within your local development environment.
Testing
During this entire process, you should be testing your site in multiple browsers and devices.
Testing the site as you develop it will ensure that small errors don’t become really big ones.
As your site becomes more functional, it’s a really good idea to begin usability testing, if the project timeline and budget allows for it.
While bringing in an outside firm to conduct usability testing is extremely helpful, your budget might only allow you that for your larger projects.
Regardless, you should try to find individuals that can test your site out and make sure it’s functional and that the site is meeting the usability goals that you set for it.
Reviews
As your development cycle reaches its end, you might want to bring the client in for some final reviews.
It’s really helpful to make the client understand that the site is about to go live, and they need to make any final revisions that they want.
In the past, some sites were reviewed to death with an endless cycle of reviews and updates, that really prevented the site from going live when it was supposed to.
By stressing that this is actually the final review, you’re able to make sure the site is meeting your client’s goals and expectations while preventing unnecessary revisions.
After all, this comes the fun part. You’re going to publish the website and celebrate as it goes live.
Publish!
Now, depending upon your arrangement with your client, your job might actually not be over at this point… I mean, it usually isn’t.
You still at minimum want to do extensive testing with the site and make sure it’s performing the way that you expect it to.
You should probably expect to have to do a few rounds of revision after the site is live, at a minimum.
Okay, we know we told you we were going to describe the basic workflow, and quite frankly, that was actually fairly comprehensive.
Sorry about that. We’re not going to pretend that we use every single one of these steps on every project. Of course, we don’t.
Every project is its own individual animal and we modify the workflow to suit what’s going on in that project.
Don’t expect to have a polished workflow on your first project. By having a sample workflow, like this one, however, that you can use as a starting point, you can kind of see which processes are going to work for you and which ones you’re going to want to modify or get rid of.
In the end, workflows are incredibly personal. And eventually, you’re going to find the one that fits your individual requirements.